After the completion of the Skeletal System and Connective Tissues, the next phase was to construct the muscular system, which enables the body to move, maintain posture, and circulate blood and consists of skeletal, smooth and cardiac muscles.
Firstly the creation of the muscular system was approached in very much the same way as the skeleton by labelling and segmenting the models from The Visible Human Data using 3dSlicer.
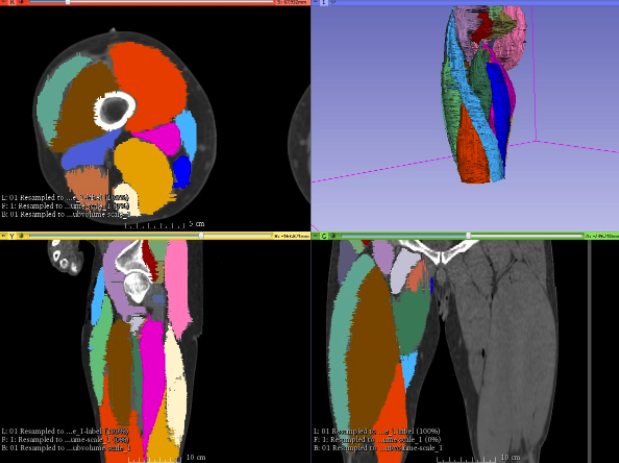
Figure 1.0: First Approach – Segmenting muscles in 3dSlicer using the Visible Human Data Set.
This method worked well up to a point but was time consuming and at times was difficult to distinguish between the smaller muscles. This forced us to search for alternative methods of creating the muscles whilst still ensuring anatomical accuracy.
We then went back to the drawing board and came across the BodyParts 3D Database from the Database Center for Life Science in the University of Tokyo, which contains polygon data of anatomical structures of a male in OBJ. format and it has a creative commons license that allows use of the data for any purpose with permission. (We wrote to them and were kindly granted permission to use their models for our commercial purposes with Pocket Anatomy in September 2016.)
With this new breakthrough, this allowed us to take models directly from the data. These models however had to be repositioned to fit the pose of our skeleton and then re-topologized to have clean topology which could be handled in a realtime engine.
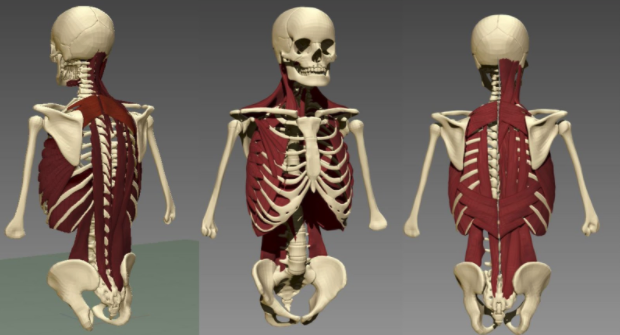
BodyParts 3D Models repositioned to fit the pose of our Skeleton.
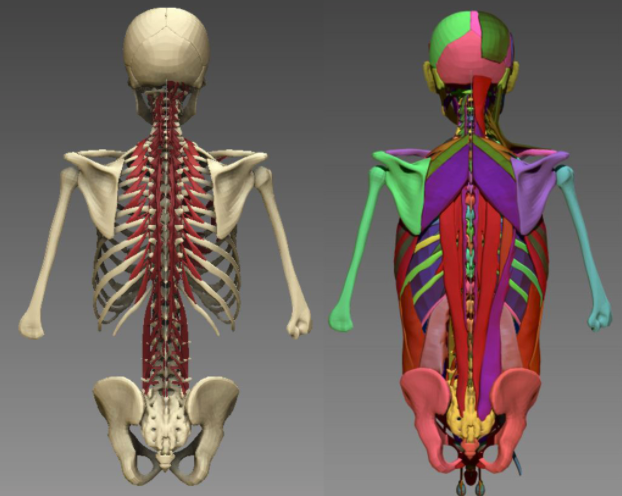
Figure 1.1b: Second Approach – BodyParts 3D Models repositioned to fit the pose of our Skeleton (Muscle sculpting in ZBrush)
Some muscles still needed to be modelled from scratch in Zbrush such as the muscles of the face. Lastly, when the modelling of the muscles was complete they were unwrapped and textured.
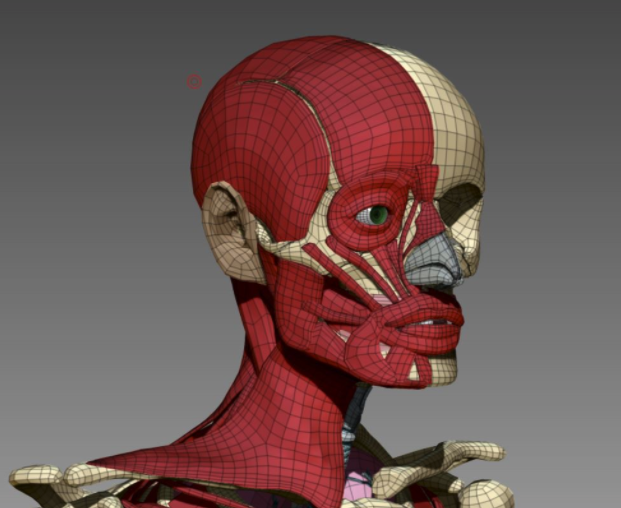
Figure 1.2: Third Approach – Sculpting facial muscles from scratch in Zbrush.
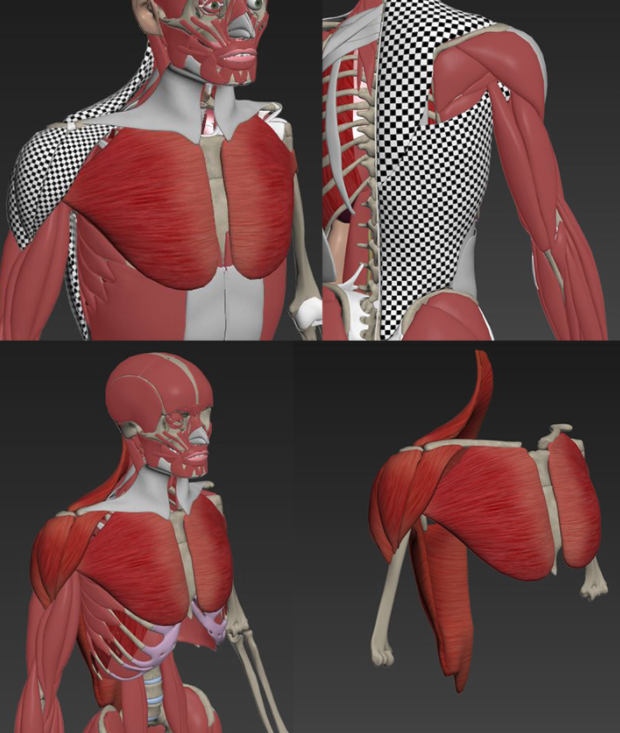
Figure 1.3: Unwrapping and texturing progress.
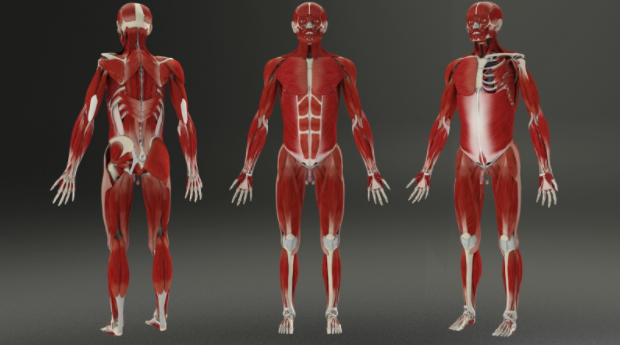
Figure 1.4: Render of the completed muscular system.
Interested in taking our award-winning Pocket Anatomy for a test drive?